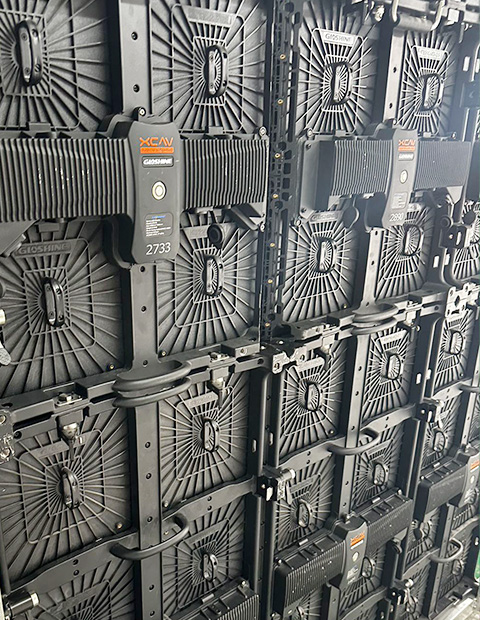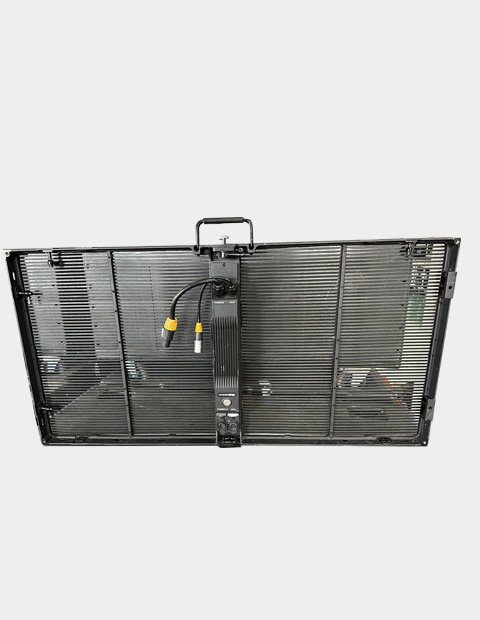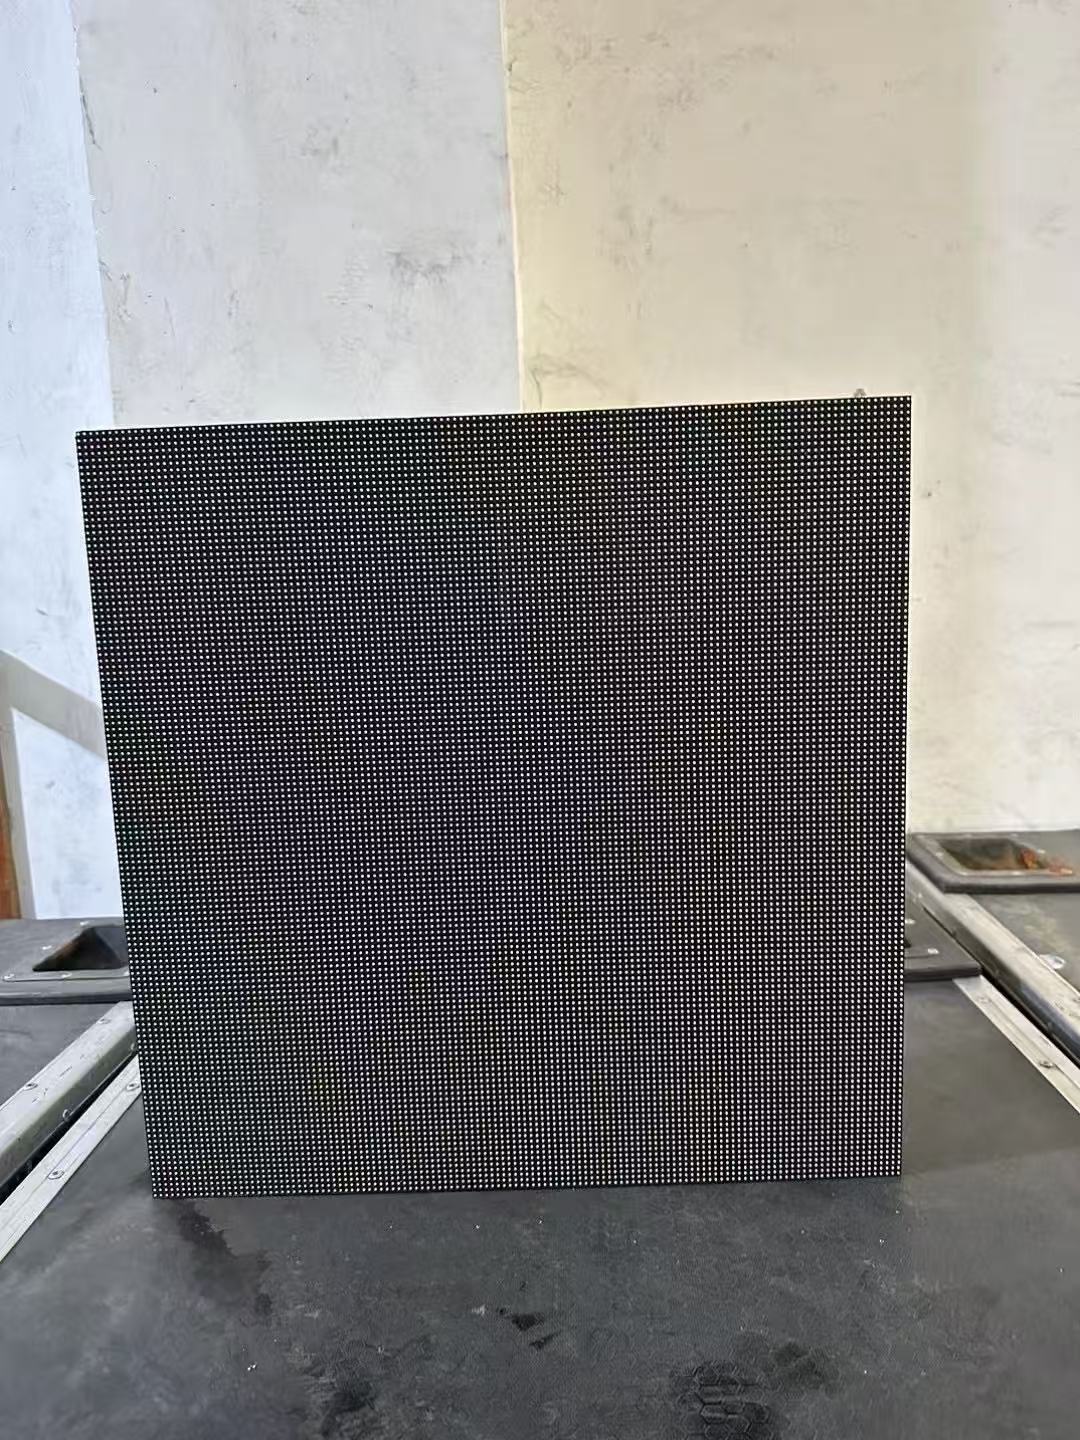
Remove the screws on the module, take out the LED board. (Waterproof module need a razor blade to cut the circle rubber around module, pry the LED board carefully with tweezer, shell it off from bottom case ).
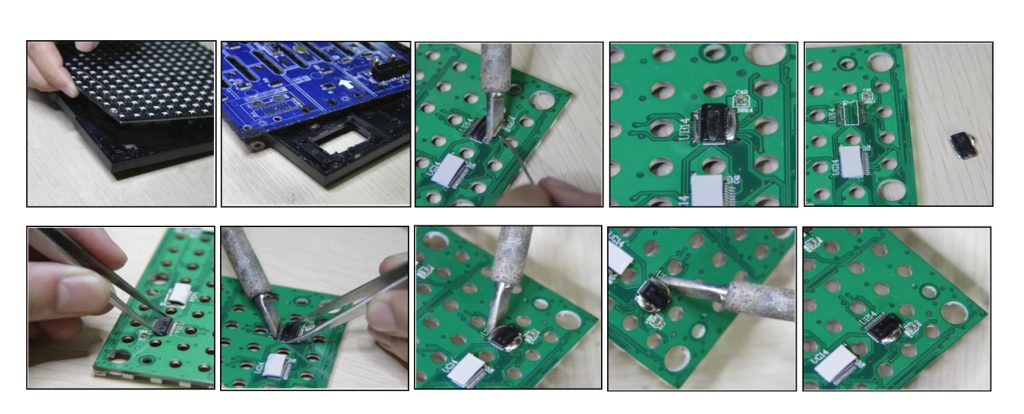
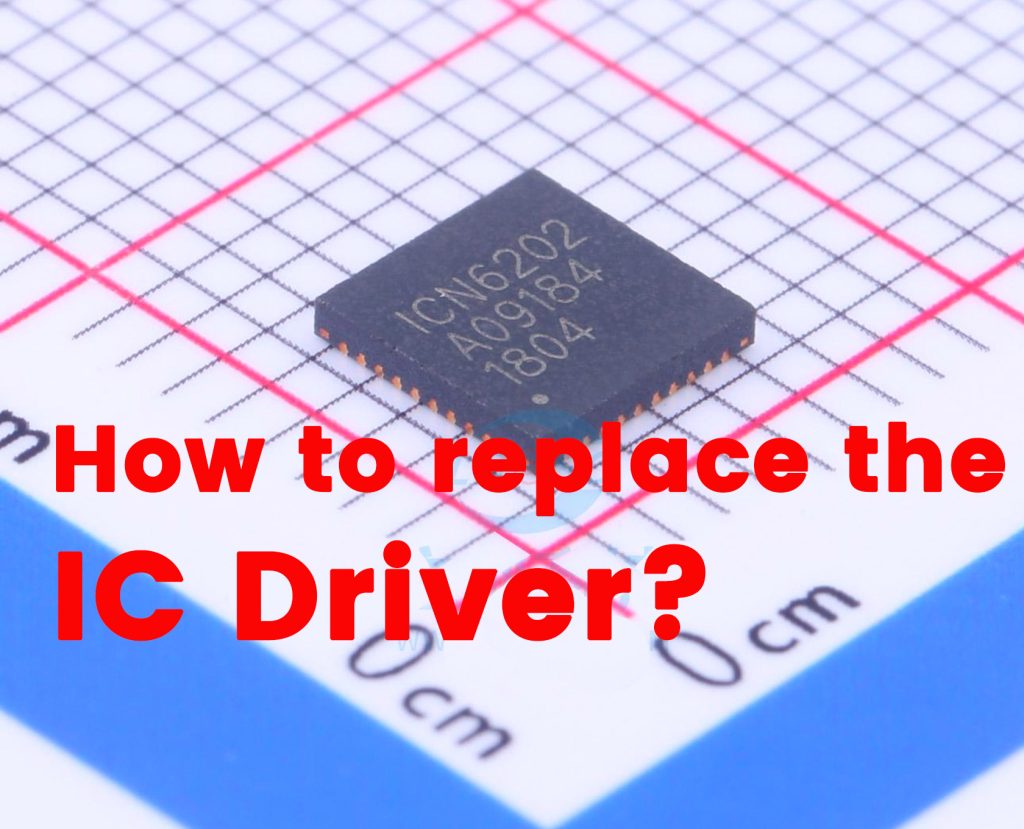
- Find out broken IC, clean up the waterproof paint on the IC.
- With a soldering iron to solder tin on the pin of both side of IC.
- With a soldering iron to rapid heating cycle on the tin of IC both side pins ,make it in the molten state, then IC can pushed and removed.
- Put some tin on pad of the broken IC appropriately, clean up the tin slag on the pad.
- Take out the IC of the same type with product, and clamp the both ends of IC with tweezers so as to make each pin.
- Correctly stick to IC pad correspondingly (Note that the pin on the sunken round point on the left corner of IC front is the first pin, which must be welded corresponding to the small silk-screen circle of the circuit board IC).
- Use soldering iron to heat the right pin of IC back and forth, so as to make tin on pad be fused with pin to fix it on pad.
- Add the left pin of IC with tin, then the right one.
- Incline the lamp panel to 45°, use soldering iron to heat tin on the IC pins from top to bottom and slightly cast off redundant tin which is stuck to the soldering iron until that no IC pins are connected with each other.
When the lighting module display to normal, install the module to bottom case, waterproof module required component room temperature curing silicone rubber (black), add rubber on the place scraped rubber and also add a circle rubber around the LED board.
